How to download macOS from Apple
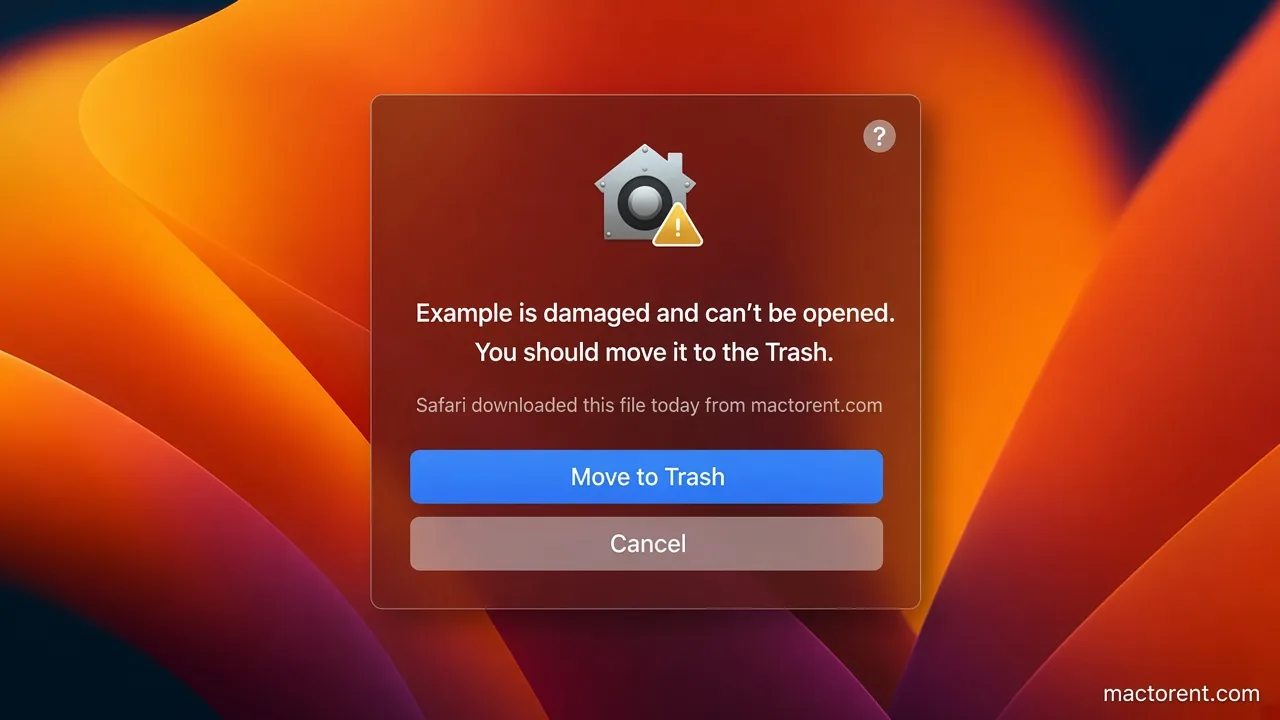
If you searched for a macOS torrent, you are looking for the installer: the file that puts Sonoma, Sequoia, or the current macOS on a Mac. Apple gives that installer away, and the copy from Apple is signed. A disk image from a torrent is not. macOS can refuse it, and you cannot see whether someone changed it. MacTorent does not host macOS installers. Use one of the four ways below. The right one depends on what you are trying to do.
Update the Mac you are using
Software Update is the one to use when this Mac should move to the newest macOS it supports. It only offers versions that Mac can take, and the download is smaller than a full installer.
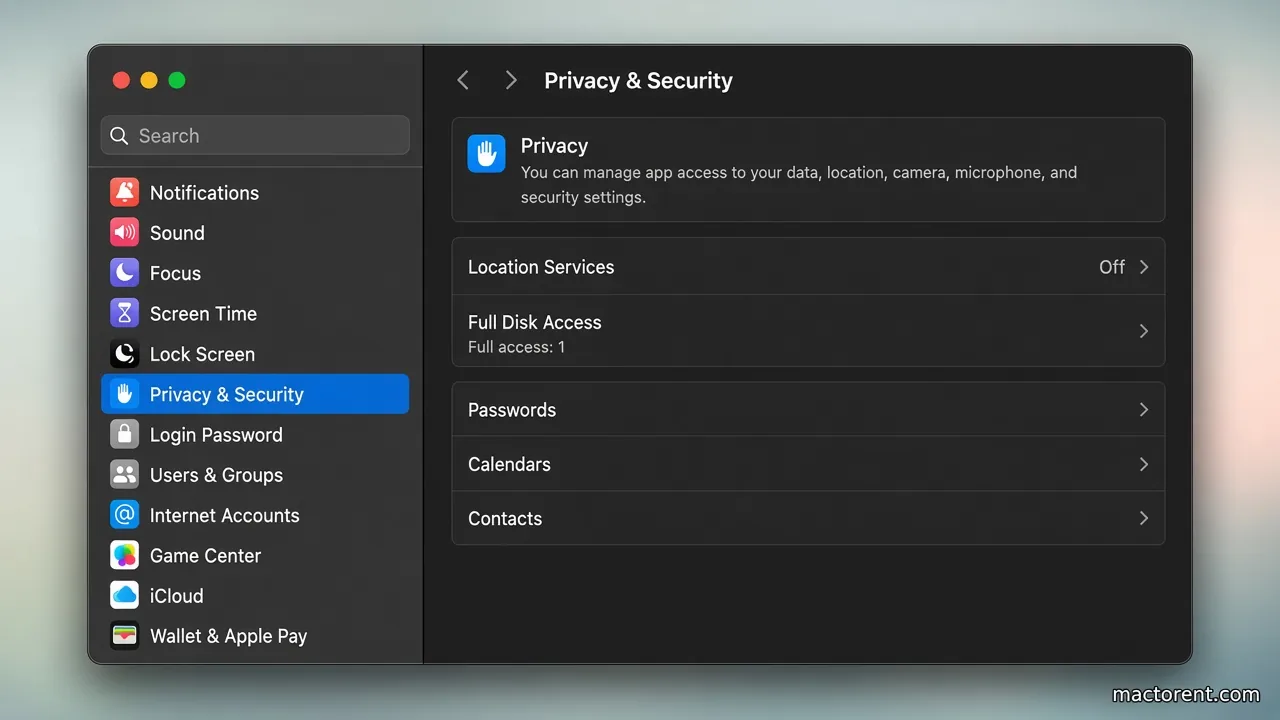
- Open System Settings.
- Open General, then Software Update.
- If an update is listed, start it and leave the Mac on power until it restarts.
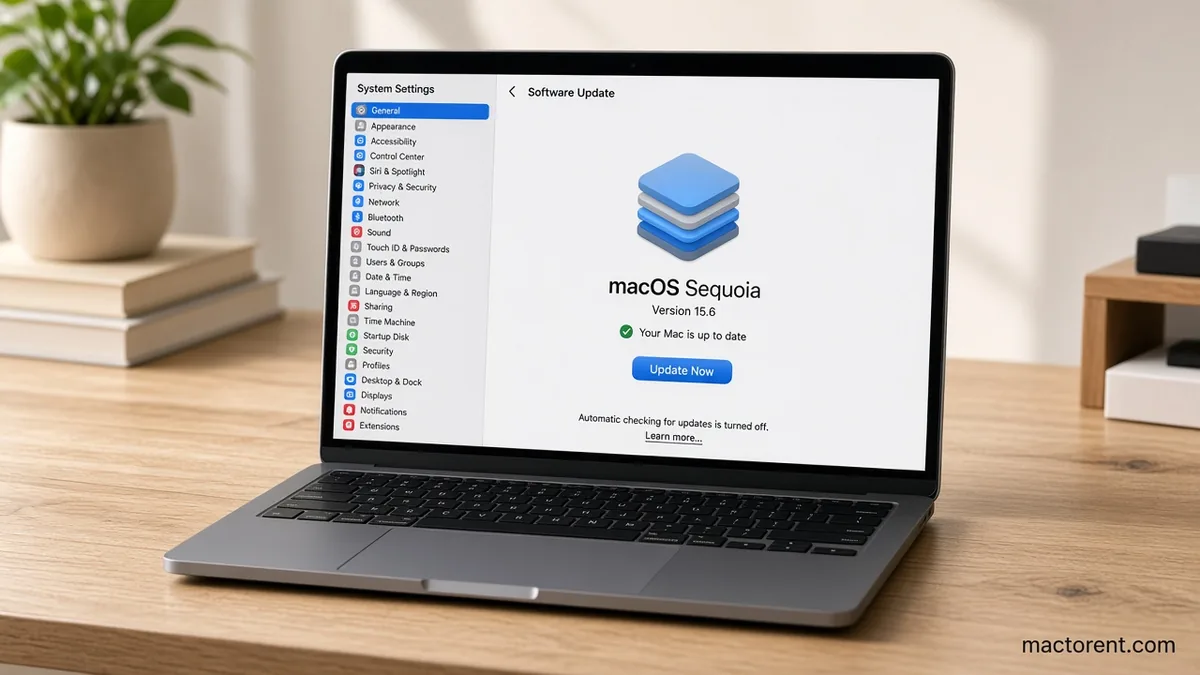
If the pane says the Mac is up to date, Apple is not offering a newer system for this model. That is a compatibility limit, not a broken update. Apple publishes the model lists:
The click-by-click version of this path is How to update or upgrade macOS using Software Update.
Get the full installer into Applications
Use this when you need the app named Install macOS, not a silent update. That app is what you open to install later, and it is what a USB installer is built from. The Mac you download on must be on macOS Catalina 10.15 or later, and it will only fetch a version compatible with itself, back to the system it shipped with or the closest one Apple still offers.
- Open Terminal. It is in Applications → Utilities. Spotlight finds it if you type Terminal.
- See which full installers this Mac can download:
softwareupdate --list-full-installers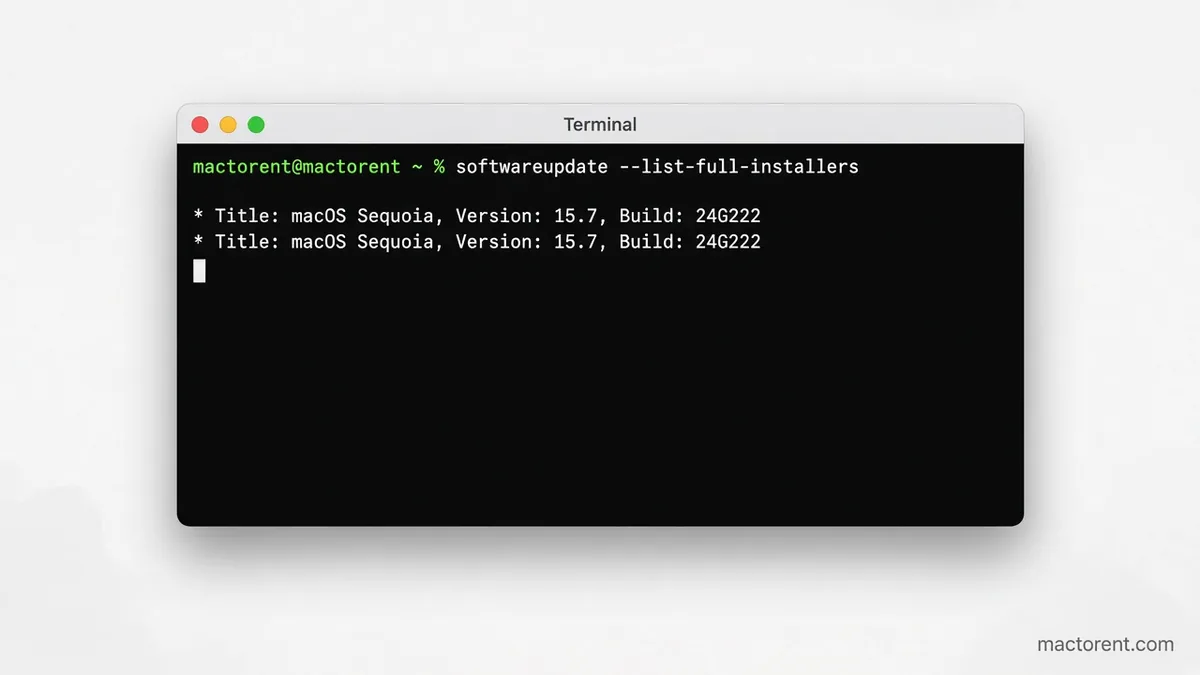
- Pick a version number from that list. Do not type a number from a forum. If the version is not on the list, this Mac cannot take it.
- Download it. Apple’s own example uses 26.6.2. Replace that with a version your list actually printed:
softwareupdate --fetch-full-installer --full-installer-version 26.6.2- Wait until Terminal says the install finished successfully. The percentage on screen is the download, not a second install.
- Open the Applications folder. The installer is there, named Install and then the macOS name. Double-click it and follow the screens, or leave it there if you are about to make a USB stick.
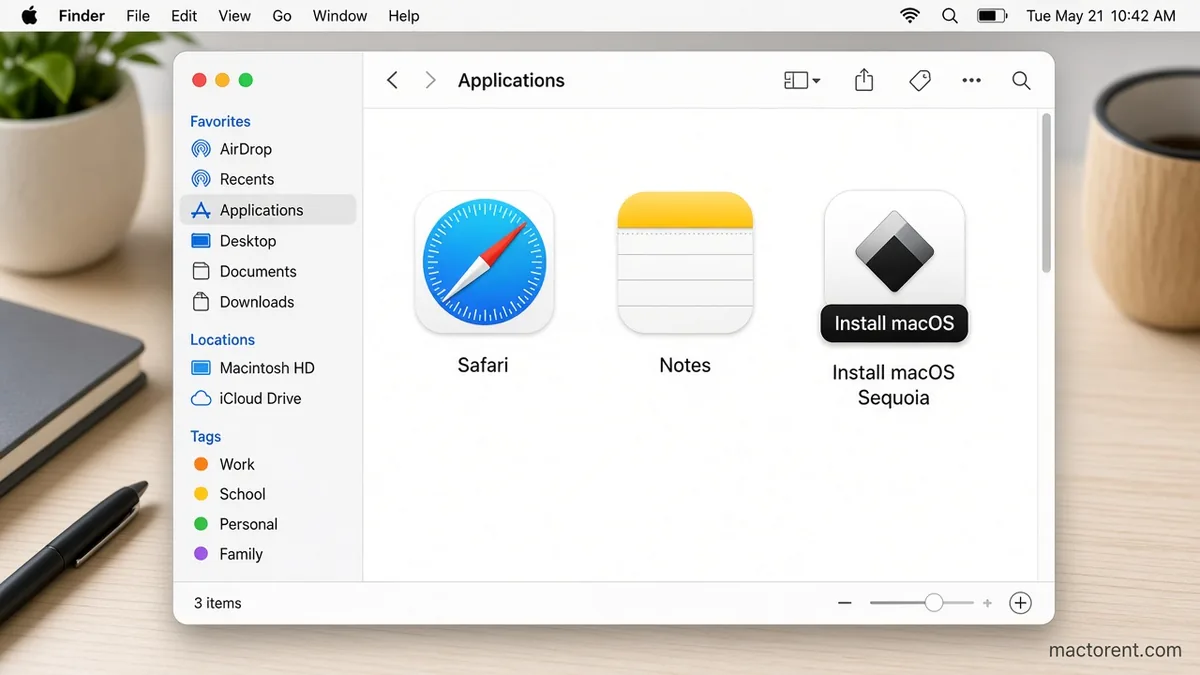
If Terminal says the update was not found, that version is not available for this Mac. Run the list command again and use one of those numbers.
Older macOS from the App Store
Sequoia back to Big Sur can also be fetched from the App Store. The Mac you download on has to be compatible with that macOS. If you want the installer so you can make a bootable USB stick, Apple says the Mac doing the download should be on macOS Mojave 10.14 or later. Use Safari if a link does nothing. These open the App Store page:
Click Get. If Software Update opens and asks to download macOS, allow it. A dimmed Get button, or a note that the version is not compatible, means this Mac cannot run that system. After the download, the installer opens from Applications. Quit it if you only wanted the file kept for later.
Catalina and the older systems that still have an App Store or browser download are listed on How to download and install macOS. Use the link on that page rather than a file from somewhere else.
The Mac will not start
Software Update cannot run if the Mac does not reach the desktop. Reinstall from macOS Recovery. You need a normal Wi-Fi or Ethernet connection. A network that demands a login page, 802.1X, or PPPoE in front of the Mac will block the download.
What you get depends on how you start Recovery. On an Intel Mac, Apple’s three combinations are:
- Command-R starts the local Recovery system and reinstalls the current version of the macOS already on the disk.
- Option-Command-R starts Internet Recovery and can install the latest macOS that Mac supports.
- Shift-Option-Command-R starts Internet Recovery and can install the macOS that came with the Mac, or the closest version Apple still offers.
Apple silicon uses a different startup, holding the power button until the startup options appear. Both paths, and what to do if the installer does not see the disk, are on How to start up from macOS Recovery and How to reinstall macOS. If Recovery cannot see the disk, Apple’s next step is Disk Utility to erase the startup disk, then the installer again. Erasing deletes the files on that disk.
One installer for several Macs
Download the full installer first, with Terminal or the App Store, so Applications contains Install macOS and the version name. Then build a USB stick from it. You need a USB drive you can erase. Apple’s example names that volume MyVolume. The command has to point at the installer you actually have. For Sequoia it is:
sudo /Applications/Install\ macOS\ Sequoia.app/Contents/Resources/createinstallmedia --volume /Volumes/MyVolume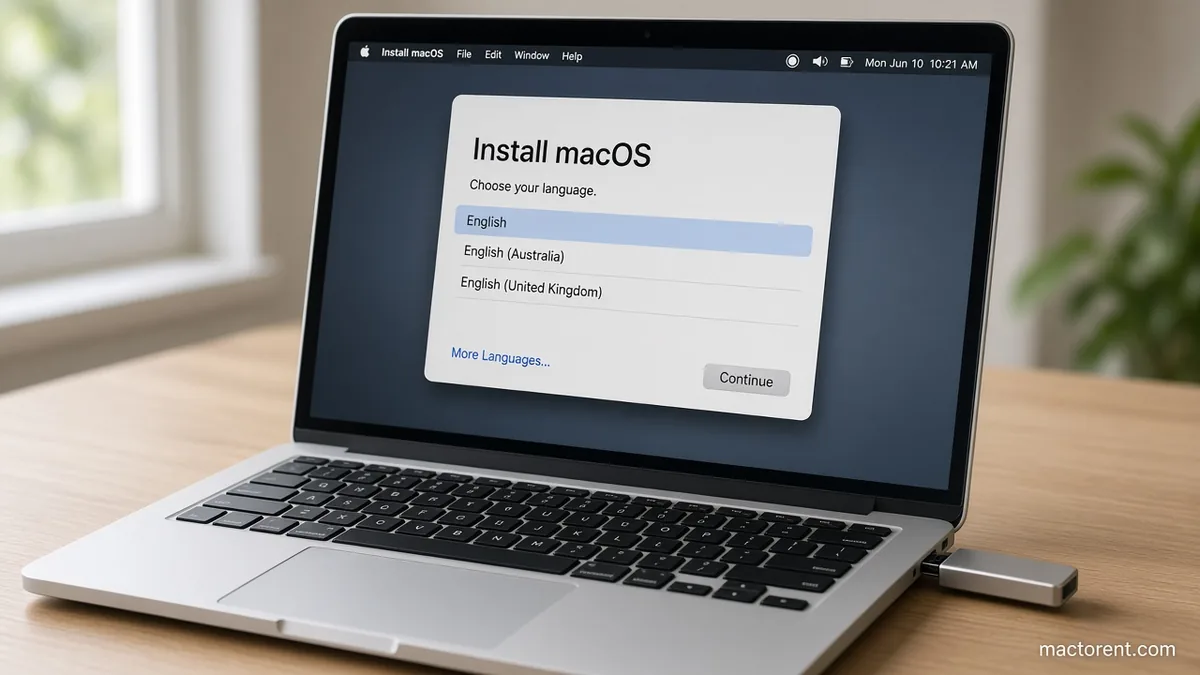
If your installer is named Install macOS Sonoma, or Tahoe, the path changes with that name. Apple lists the command for each version, and how to erase the USB drive before you run it, in How to create a bootable installer for macOS. Do not reuse a command whose app name is not in your Applications folder. Terminal will not find it.
What to skip
Do not install a macOS that is missing from softwareupdate --list-full-installers and missing from the compatibility list for that model. The download will fail, or the Mac will not start from it. Do not use an installer disk image from a torrent in place of the file Apple serves. The signed installer from Software Update, the App Store, or softwareupdate --fetch-full-installer is the same system, without the extra file you cannot check.