Give Terminal full disk access on a Mac
Full disk access lets Terminal read folders that macOS otherwise hides, including Mail, Messages, and some backups. App Management lets Terminal change other apps. Neither one is the same as sudo. sudo asks for your password for a single command. The steps below are the Privacy & Security switches.
On a Mac set to another language, the row names are translated. The order is the same.
macOS Ventura, Sonoma, and Sequoia
- Open System Settings.
- Open Privacy & Security.
- Open Full Disk Access.
- Click the + at the bottom of the list. If the list is locked, unlock it with your login password first.
- Go to Applications → Utilities and choose Terminal. Terminal should now appear in the list with its switch on.
- Go back to Privacy & Security.
- Open App Management and add Terminal the same way.
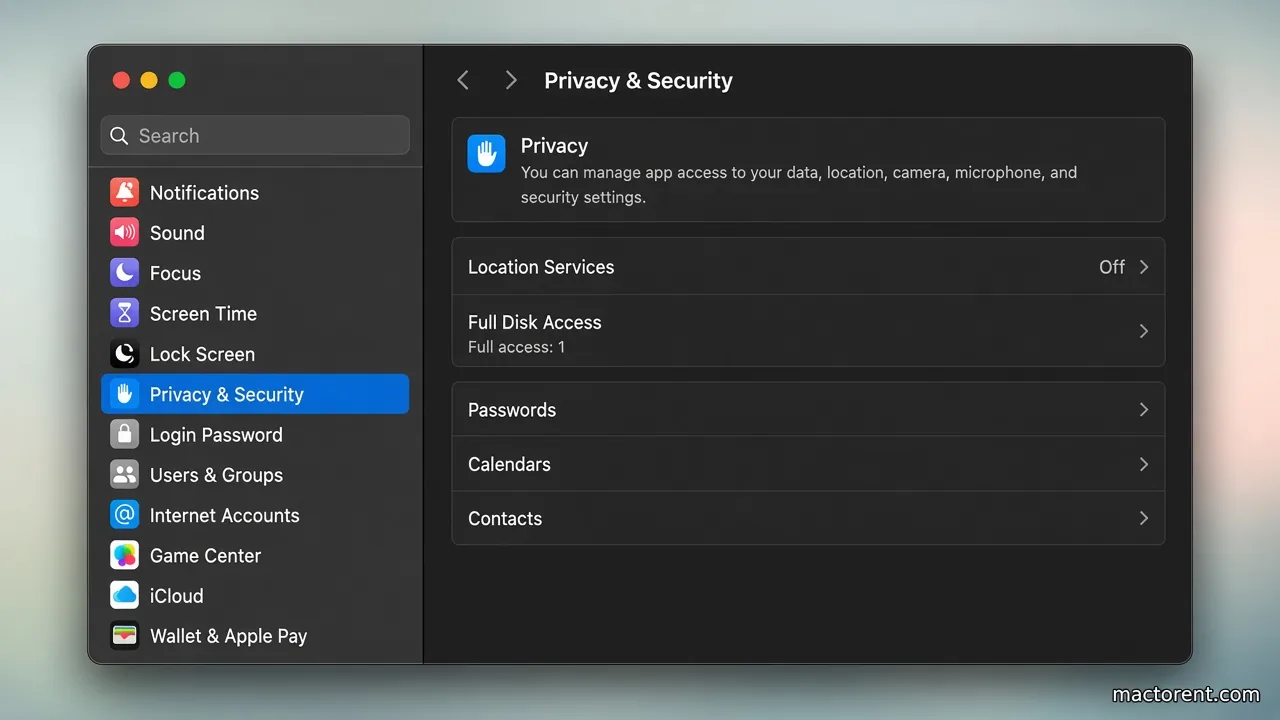
Terminal can then copy, read, and remove files in places that used to return “Operation not permitted”, and it can manage other apps.
macOS Monterey, Big Sur, and earlier
- Open System Preferences.
- Open Security & Privacy.
- Open the Privacy tab.
- Select Full Disk Access.
- Click the lock, enter your login password, then click +.
- Go to Applications → Utilities and choose Terminal.
Quit Terminal and open it again so the new permission applies.